
The Steps to Embroidering Perfection
We get an inside view on the step by step process of embroidering from the PFHS Embroidery Club founder.
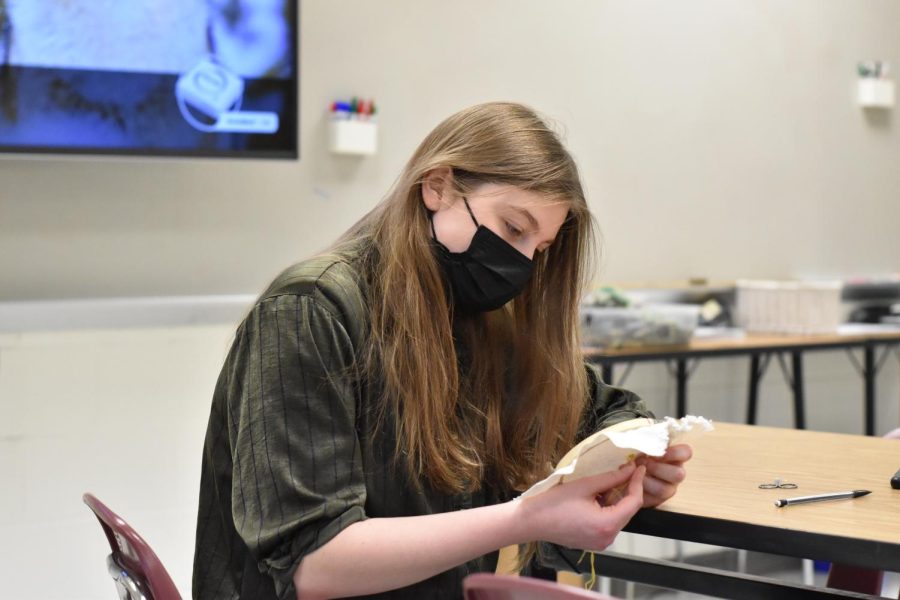
The Embroidery Club, also known as the Premier Club or “Finer Things Club” is one of the many clubs available here at PFHS. This club is brand new this year and includes movie watching, snacks, and of course: embroidering. We interviewed the Embroidery Club’s founder, senior Amelia Smith, for a step by step on how to embroider.
STEP 1: Come up with your design and gather your materials including an embroidery hoop, fabric marker, fabric, needles, and scissors. “I usually think about something I’ve never seen embroidered before, like a shrimp or pumpkin,” said Smith.
STEP 2: Trace your design with a fabric marker. “It’s easier to trace when you’re sitting next to a window, there’s a lot of natural light,” said Smith.
STEP 3: Thread your needle. Threading your needle involves putting a thread through the “eye” or top part of the needle and tying a knot. “It seems really hard but as someone who has never been super crafty, it’s really not,” said Smith.
STEP 4: Start stitching and stay focused. “I try not to let my mind wander too much because that’s when the embroidery gets wacky,” said Smith.
STEP 5: Enjoy your finished product. “It always seems to end up looking better than you picture it to, which is a really awesome payoff,” said Smith.
Embroidery can be difficult when you’re first starting out, just like any new hobby or skill. There are a lot of useful websites and YouTube videos that can help you when you’re first starting out, and you can always join PFHS’s Embroidery Club. Anyone is welcome to join, and you don’t need to bring your own equipment. Be sure to check out their Instagram page in order to keep up with meeting times and places.